
Have you ever heard of Lunch Lady Bars? Supposedly, they were served in school cafeterias back in the day—peanut butter bars with a chocolate topping that taste just like a homemade peanut butter cup. But here’s the thing: I never had these at school. Did you?! Either way, these no-bake bars are having a moment online, so I had to try them for myself—and let me tell you, they live up to the hype.
THIS POST MAY CONTAIN AFFILIATE LINKS, I MAY EARN A COMMISSION. PLEASE SEE MY Full Disclosure Policy FOR DETAILS. AS AN AMAZON ASSOCIATE I EARN FROM QUALIFYING PURCHASES
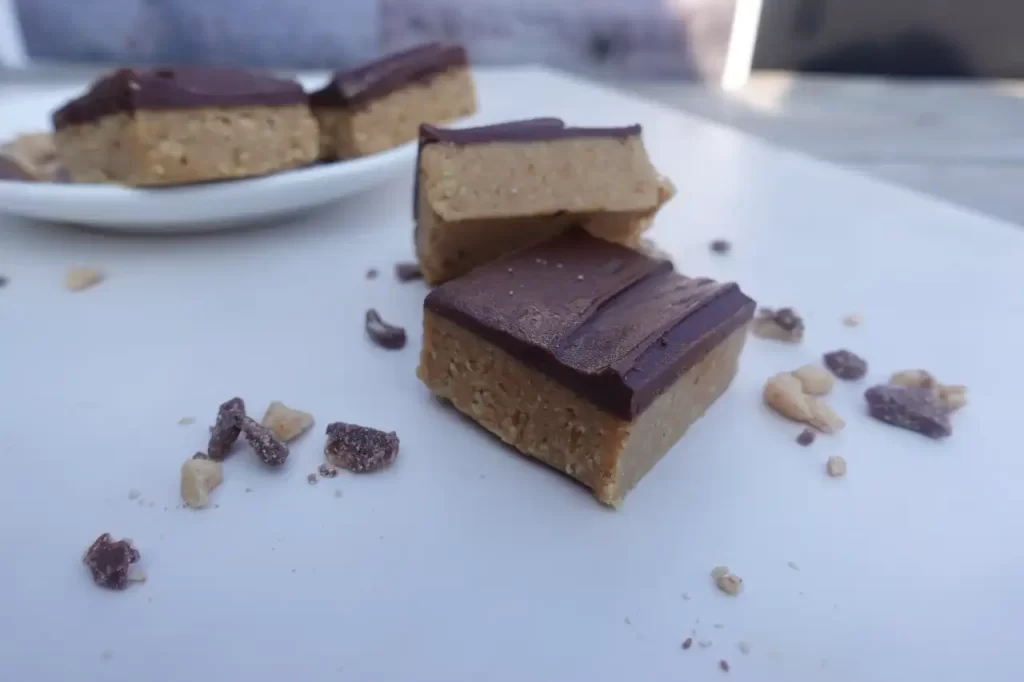
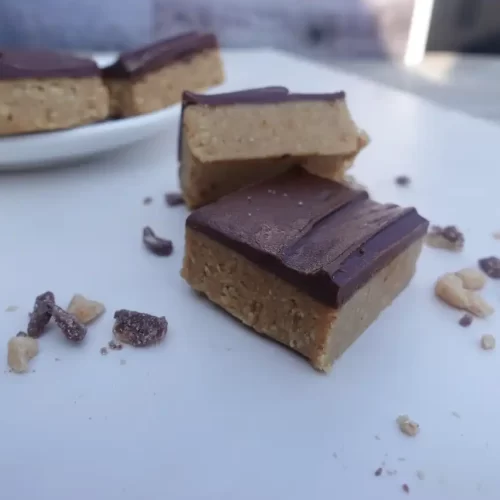
These bars are rich, creamy, and sweet with the perfect hint of salt. They’re made with simple pantry staples and take just minutes to prep. The hardest part? Waiting for the lunch lady’s to chill!
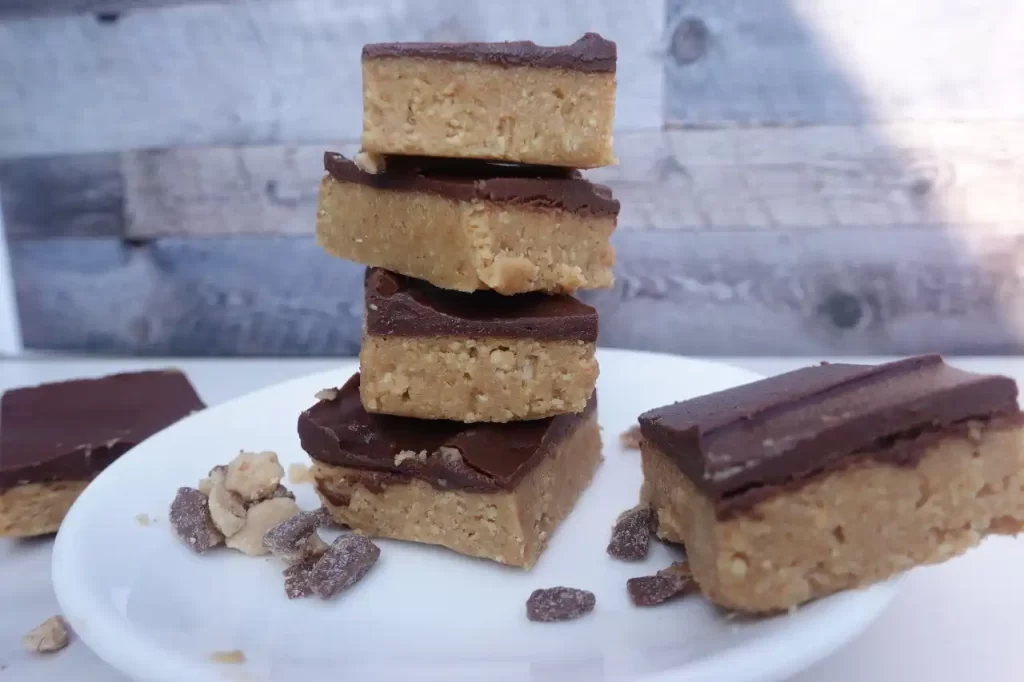
Table of contents
Why You’ll Love These Lunch Lady Bars
- No baking required – Just mix, chill, and slice.
- Peanut butter lovers’ dream – That sweet-and-salty combo hits every time.
- Tastes like a peanut butter cup – But with a graham cracker twist.
- Perfect for parties, potlucks, or after-school snacks – They slice up beautifully and disappear fast!
Ingredients You’ll Need
You probably have everything on hand already to make lunch lady bars!:
- Butter
- Creamy peanut butter
- Graham cracker crumbs (graham crackers)
- powdered sugar
- Dark chocolate chips
- Salt
Simple, right?
Step-by-Step Instructions To Make Lunch Lady Bars
- Step 1: Start by crushing your graham crackers in a food processor until they become a fine powder.
- Step 2: In a microwave-safe bowl, melt the butter and peanut butter in 30-second intervals, stirring until smooth.
- Step 3: Pour the mixture into a large bowl. Add the graham cracker crumbs, powdered sugar, and salt. Mix until well combined.
- Step 4: Line a 9×13-inch baking pan with parchment paper. Press the peanut butter mixture evenly into the pan. Pop it in the fridge for about 20 minutes.
- Step 5: While the base chills, melt your chocolate chips with the remaining peanut butter in the microwave—again, in 30-second bursts, stirring between each.
- Step 6: Spread the melted chocolate evenly over the chilled base. Chill for at least 1 hour before slicing.

Helpful Tips for the Best Lunch Lady Bars
- Use softened butter, not melted. Creaming softened butter with the sugars gives the bars their chewy, bakery-style texture.
- Don’t overmix the batter. Once you add the flour, mix just until combined to keep the bars soft and tender.
- Line your pan with parchment paper. It makes removal (and cleanup!) a breeze—plus you’ll get perfect edges every time.
- Cool completely before frosting. The frosting will melt and soak in if the bars are warm, so let them cool fully for that classic fudgy layer on top.
- Cut with a warm knife. For clean, smooth squares, dip your knife in warm water and wipe between slices.
How to Store
These bars should be stored in an airtight container in the refrigerator. They’ll keep well for up to 1 week (if they last that long!). You can also freeze lunch lady bars—just wrap each piece in parchment paper and place in a freezer-safe bag for up to 2 months.
Variations
- Add crushed pretzels to the base for a salty crunch.
- Use almond butter instead of peanut butter for a twist.
- Top with mini chocolate chips or chopped peanuts before chilling for some extra texture.
More Delicious Recipes To Try!
Blueberry Cream Cheese Delight

FAQ
Why are they called Lunch Lady Bars?
These bars earned their name because they were a staple in school cafeterias back in the day! They’re known for their soft, cake-like texture and thick layer of rich chocolate frosting.
Can I make Lunch Lady Bars ahead of time?
Definitely. You can bake the bars a day ahead, then frost them once cooled. They keep beautifully at room temperature for up to 3 days, or in the fridge for up to 5 days.
Can I freeze Lunch Lady Bars?
Yes! Slice them first, then freeze in a single layer before stacking with parchment between layers. They’ll last up to 3 months. Just thaw at room temperature before serving.
Lunch Lady Bars (No-Bake Peanut Butter Bars)
Ingredients
for the base
- 1 ½ sticks 12 tablespoons unsalted butter
- 1 ½ cups creamy peanut butter
- 2 cups graham cracker crumbs
- 1 cup powdered sugar
- ½ teaspoon salt
for the topping
- 2 cups dark chocolate chips
- 4 tablespoons creamy peanut butter
Instructions
- Place graham crackers in a food processor and blend into a fine crumb.
- In a microwave-safe bowl, melt the butter and 1 ½ cups peanut butter in 30-second intervals, stirring between each.
- Pour into a large bowl. Add graham cracker crumbs, confectioners’ sugar, and salt. Stir until fully combined.
- Line a 9×13-inch pan with parchment paper. Press mixture evenly into the bottom. Refrigerate for 20 minutes.
- In another microwave-safe bowl, combine the chocolate chips and 4 tablespoons peanut butter. Microwave in 30-second intervals, stirring until smooth.
- Spread chocolate over the chilled base. Refrigerate for at least 1 hour before slicing and serving.
Notes
- For best results, let the bars sit at room temperature for 5–10 minutes before slicing.
- Use a warm knife for cleaner cuts.
- You can easily cut this recipe in half and use an 8×8 pan.
Really good. Cracked a little sea salt on top as a finishing touch. Simple and easy to make. My boys loved them!
I am so glad! Thanks for commenting!