
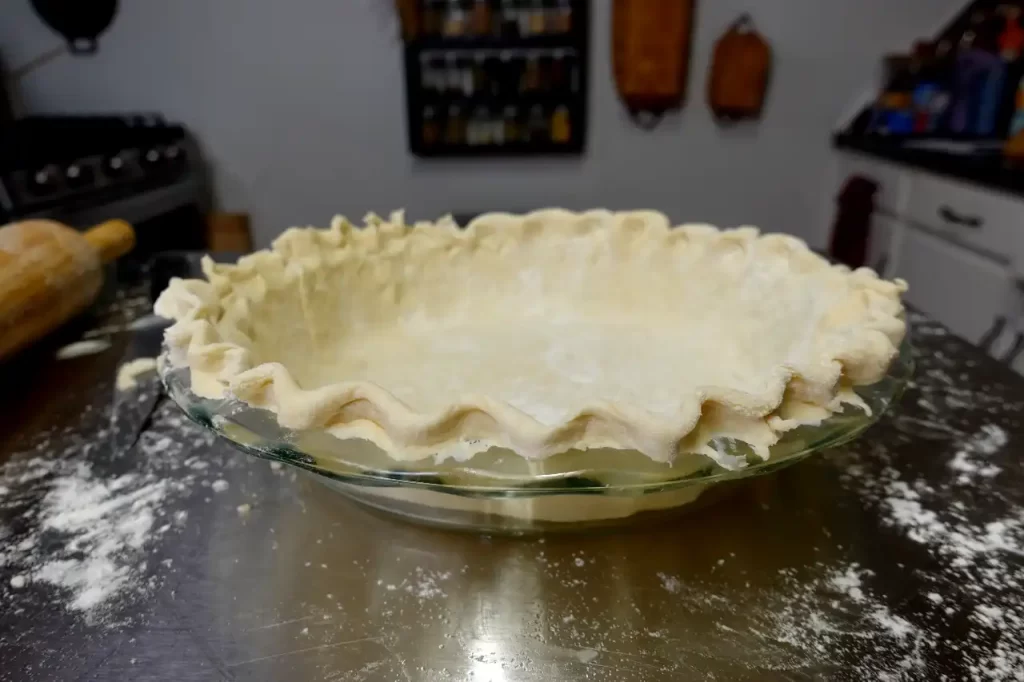
Nothing beats a flaky butter pie crust made from scratch! This easy butter pie crust is my go-to base for everything from fruit pies to quiches. It’s tender, crisp, and has those irresistible golden layers that make every bite RIDIC-ULICIOUS!
THIS POST MAY CONTAIN AFFILIATE LINKS. PLEASE SEE MY FULL DISCLOSURE POLICY FOR DETAILS. AS AN AMAZON ASSOCIATE I EARN FROM QUALIFYING PURCHASES.
Once you see how simple it is to make, you’ll never reach for a store-bought crust again. I’ve made this crust countless times over the years—it’s the one I trust for holidays, Sunday dinners, and even those spontaneous “I think I’ll bake a pie today” moods. There’s something so comforting about working the dough, rolling it out, and smelling that buttery goodness baking away in the oven. It’s truly the heart of any great pie..

Table of contents
Why You’ll Love This Recipe
- Flaky and buttery: The secret is using cold butter and just the right amount of water.
- Versatile: Perfect for sweet pies like apple or banana cream, or savory dishes like quiche and pot pie.
- Beginner-friendly: This recipe comes together easily in a food processor—no pastry cutter required!
A Little Backstory
This pie crust recipe is one that’s been used in my kitchen for years. I’ve tried shortening crusts and all-butter crusts, but I always come back to this simple version. It’s dependable, easy to work with, and gives the perfect combination of tenderness and structure. The smell of buttery pastry baking in the oven always reminds me of cozy family gatherings and holiday desserts cooling on the counter.
Ingredients
- 1 1/4 cups all-purpose flour
- 1 teaspoon salt
- 8 tablespoons (1 stick) butter, cold and cut into cubes
- 6–8 tablespoons ice water
This recipe makes a single pie crust, but it can easily be doubled for a double-crust pie.
Instructions
- Mix the dry ingredients:
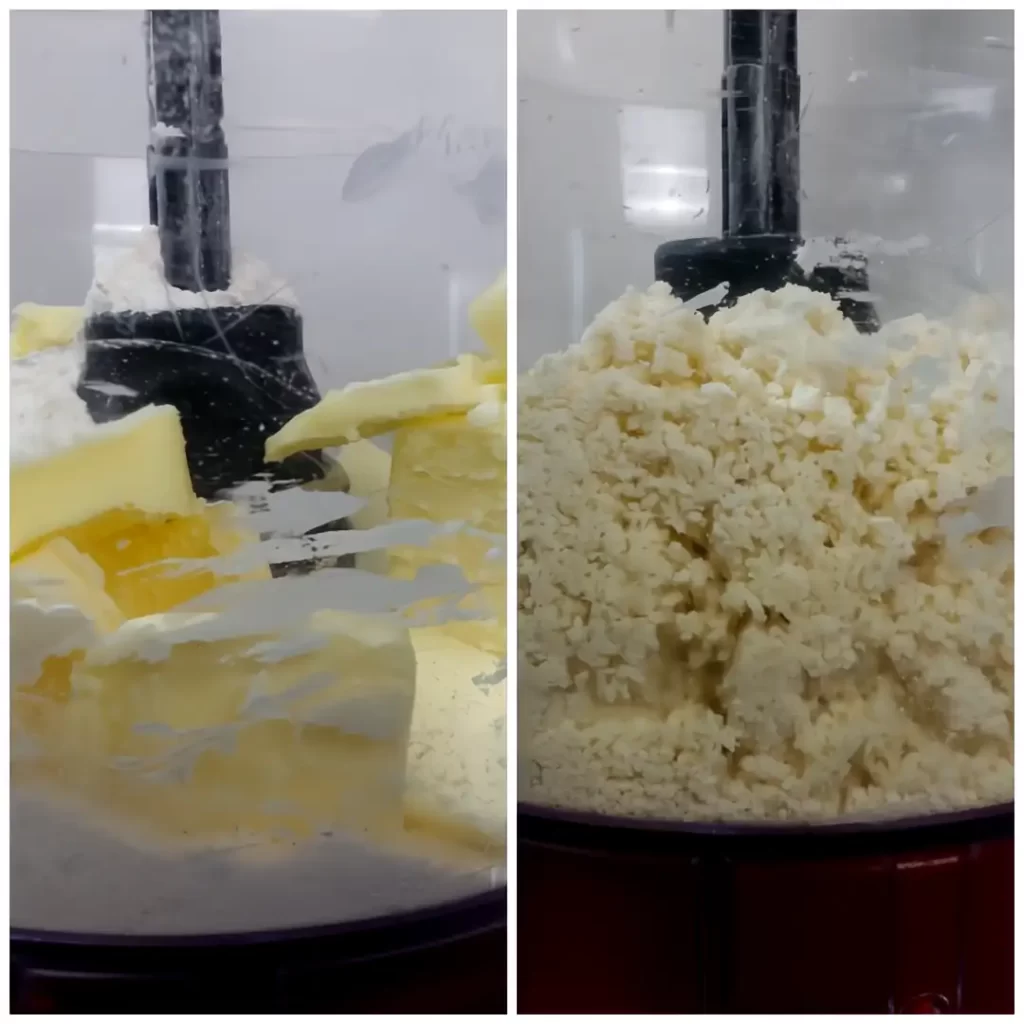
Add the flour and salt to your food processor. Give it a quick pulse to blend. - Cut in the butter:
Add the cold butter cubes to the flour mixture. Pulse 5–6 times until the mixture resembles coarse crumbs. You should still see small chunks of butter—that’s what gives the crust its flakiness! - Add the water:
With the processor running, drizzle in ice water 1 tablespoon at a time, pulsing after each addition. Stop as soon as the dough starts to come together. Avoid overmixing—it should hold when pressed but not be sticky. - Shape the dough:
Turn the dough out onto a piece of plastic wrap. Lightly press it together into a disk. Don’t knead or handle it too much; the warmth from your hands can melt the butter. - Chill:
Wrap tightly and refrigerate for at least 30 minutes. This resting time allows the gluten to relax and keeps the butter cold. - Roll it out:
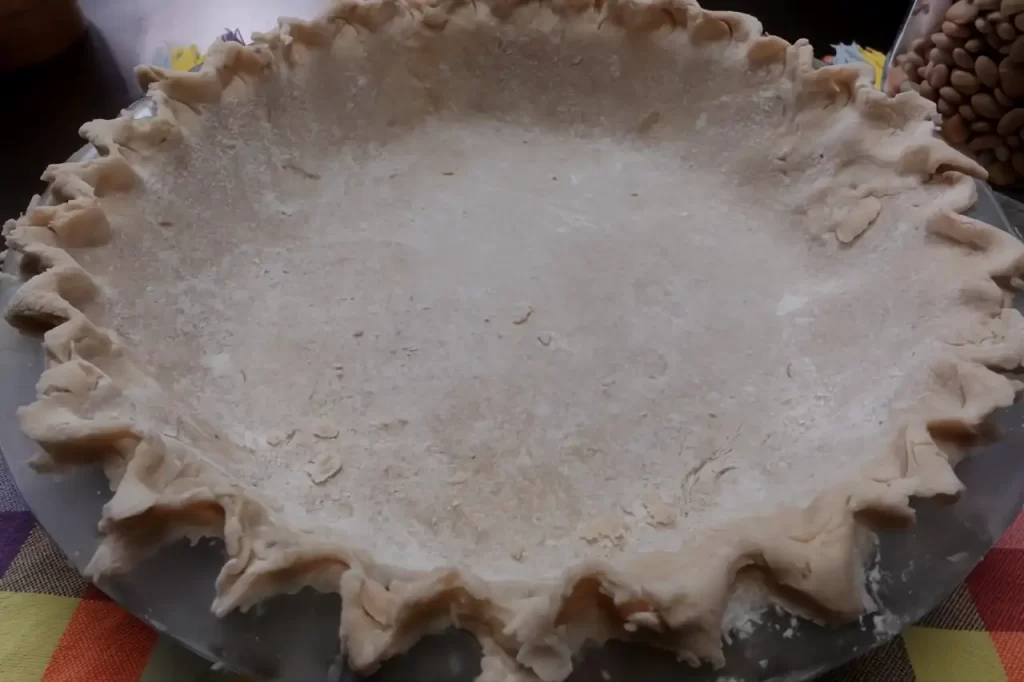
On a lightly floured surface, roll the dough out from the center, turning as you go, until it’s about 12 inches in diameter. Carefully transfer to your pie dish and trim the edges as needed.

Nettie’s Notes
- Keep everything cold: I like to cube my butter ahead of time and pop it in the freezer for 10 minutes before starting. Cold ingredients = flaky layers.
- No food processor? You can cut the butter into the flour with a pastry cutter or even your fingertips—just work quickly so the butter doesn’t soften.
- Freeze for later: Wrapped tightly, this dough freezes beautifully. Just thaw overnight in the fridge before rolling it out.
- Easy doubling: When I make a double crust, I roll out one for the bottom and chill the other while I prepare the filling.

FAQ
Can I use salted butter?
Yes, but reduce the added salt to about ½ teaspoon.
Why is my crust tough instead of flaky?
This usually means the dough was overworked or too much water was added. Handle gently and stop mixing as soon as it holds together.
How far ahead can I make it?
The dough can be refrigerated for up to 3 days or frozen for up to 3 months.
Storage Notes
Wrap the dough disk tightly in plastic wrap, then place it in a resealable bag. It will keep in the refrigerator for up to 3 days or in the freezer for up to 3 months. To use frozen dough, thaw overnight in the fridge before rolling.
Apparel for the foodies & grillers

Reader Favorites

Flaky Butter Pie Crust
Ingredients
- 1 1/4 cup all-purpose flour
- 1 tsp salt
- 6-8 Tbsp ice water
- 8 Tbsp butter cut into cubes
This recipe makes a single pie crust, it easily doubles.
Instructions
- In your food processor add flour, butter and salt. Pulse 5-6 times to incorporate butter into flour. Do not over process, you still want to see small chunks of butter. Add ice water 1 Tbsp at a time and add only enough to moisten flour. Please refer to post for detailed instructions. Dump the mixture onto a sheet of plastic wrap and lightly form into a disk. Do not handle the dough to much. Wrap tightly and refrigerate for 30 minutes. Remove from refrigerator and roll out.